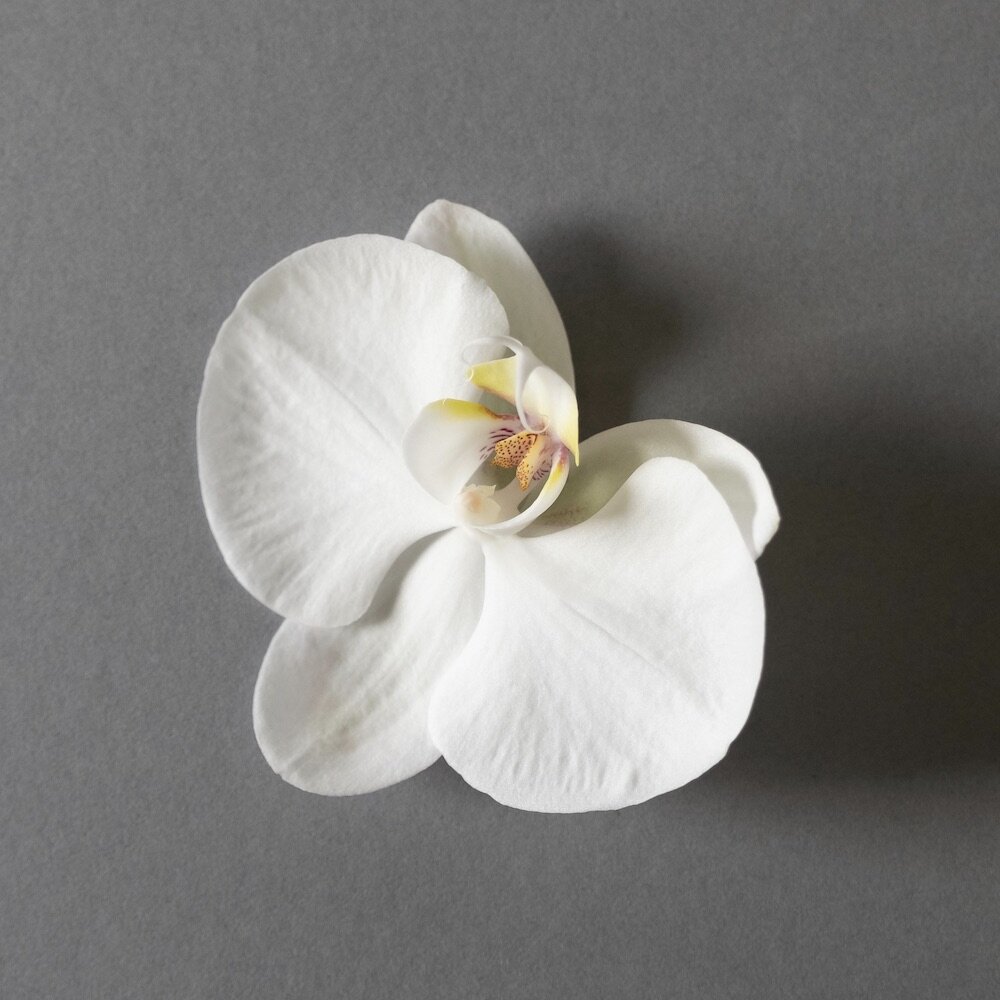
HOW I MADE IT : How to Wire a Phalaenopsis Orchid Bloom
Introducing The Classical Wiring Guide and The Contemporary Wiring Guide
The art of wiring is one both simultaneously loved and hated by floral designers with equal passion and vigour throughout our industry. In every country where I teach I find floral designers whom passionately love this branch of our craft, and … an equal amount of designers who frankly couldn’t think of anything they wish to spend their time on less! Whichever camp you fall into, wiring is an essential part of our skillset, and with the right techniques, it’s one that can be thoroughly enjoyable too.
Alongside our four brand new online classes launching on Monday, I’m delighted to be launching a pair of digital guides (step by step e-books) - The Classical Wiring Guide and The Contemporary Wiring Guide, to demystify wiring once and for all. In these guides we’ll be diving into the nuances of fine wiring, and exploring the classic and contemporary techniques which florists have relied upon for generations.
Both guides contain:
More than 70 pages of expert step-by-step tutorials, showcasing classical and contemporary wiring techniques
A solid range of techniques - from wiring fundamentals, to advanced wiring skills
Detailed text to accompany each image, sharing Joseph’s personal wiring techniques for you to master
Hi-resolution imagery to ensure you see each and every detail
Each guide will be for sale at $25.00 each, or as a bundle for $35.00, and will be delivered in an e-book format, which you will have permanent access to.
These techniques I’m sharing within this guide are just as commercially viable today as they were in the early 20th century, and they form the essential bedrock for many of the bridal skills we rely upon today. It’s my hope that with some practice you’ll come to master and enjoy these techniques, and implement them profitably within your own business today.
Today I’m delighted to be sharing an exclusive excerpt with you - How to Wire a Phalaenopsis Orchid Bloom ahead of the launch on Monday!
Let’s dive in!
Ps - if you enjoy the Step by Step, why not sign up to our future Resources below - you’ll be the first to hear all about our future Resources, and as a thank you, we’ve created an exclusive Resource - The Flower Care Guide - packed with my top care and conditioning information, waiting for you too!
1 - Cut a single orchid bloom from the orchid stem. Leave as much stem attached to the bloom as possible.
2 - Take a thin 0.38 florists wire, and fold it in half to create a hairpin shape. Take the hairpin, and bring it to the throat of the orchid bloom.
3 - Angle each leg of the wire so each legs sit on an opposite side of the orchid throat.
4 - Bring the wire lower down into the orchid bloom, and gently push back the bottom two petals of the bloom to aid you in this taking care not to damage the centre of the orchid bloom.
5 - Bring the centre of the hairpin wire to rest just above the core of the orchid throat.
6 - Take one of the legs of the wire, and wrap it several times around the orchid stem, ensuring you wrap the remaining wire leg into the rotations also. This is essentially mounting the orchid bloom on a double leg mount, and is recommended for this flower.
7 - Cut off the remaining orchid stem, just below the wiring point, removing the excess stem and reducing the weight of the wired unit.
8 - Tape the wires and stem together using paradigm or stemtex, as preferred. Start at top, next to the stem, and work down the stem.
Tear off the tape at the base of the wire, and fold in any excess tape into the wire.


